Follow Me On Social Media!
Cassava Flour Pie Crust: The Best Grain-Free Delight
Introduction to Cassava Flour Pie Crust
Delving into the culinary world of gluten-free baking, the cassava flour pie crust emerges as a game changer for today’s health-conscious professionals. Picture hosting a gathering where everyone can indulge without the worry of gluten sensitivity or dietary restrictions. That’s the beauty of cassava flour—a versatile, grain-free alternative. Originating from the cassava root, this flour is not only gluten-free but also grain-free, making it perfect for those embracing a paleo or keto lifestyle. It boasts a mild flavor and a texture that closely mimics traditional flour, allowing for a satisfying pie crust that holds its shape beautifully.
Why a Grain-Free Pie Crust is Essential for Today’s Professionals
For many young professionals today, balancing a busy life with healthy eating can feel like a juggling act. A grain-free pie crust, particularly made from cassava flour, offers several advantages:
-
Digestive Health: Many people are becoming increasingly aware of the impact of grains on their digestive systems. Grain-free options like a cassava flour pie crust can be gentler on the stomach and help reduce bloating or discomfort.
-
Nutrient-Rich: Cassava is rich in carbohydrates, fiber, and essential vitamins. Incorporating such ingredients into your diet not only satisfies cravings but also contributes to your overall health.
-
Versatility: Whether you’re baking a classic apple pie or a savory quiche, cassava flour’s neutral flavor works well across various pie types. The ease of working with this flour means you can experiment more without the stress of traditional wheat pastry.
-
Social Inclusion: In a world where food allergies and dietary preferences are increasingly common, offering a grain-free option ensures everyone can participate in the joy of pie without reservations.
Imagine gathering friends and family around a table adorned with beautifully crafted pies, each slice savored without a hint of guilt or concern. A cassava flour pie crust not only makes this possible but elevates your baking game to new heights, inviting everyone to indulge freely. As you embark on this delicious journey, you’ll find that grain-free doesn’t mean flavor-free; it’s a wonderful way to enjoy all your favorite treats while focusing on health and happiness.
Key Ingredients for Cassava Flour Pie Crust
Creating a cassava flour pie crust that holds its own is all about choosing the right ingredients. Here’s a closer look at what you need for a flaky, delicious crust that can elevate any filling to new heights.
-
Cassava Flour: The star ingredient! Cassava flour is an excellent gluten-free alternative that provides a light, slightly nutty flavor. Unlike other gluten-free flours, it offers a texture similar to traditional wheat flour, making it perfect for pie crusts.
-
Fat (Coconut Oil or Butter): I love using either coconut oil for a dairy-free option or unsalted butter for a richer taste. The fat keeps the crust tender and flaky, creating that desirable mouthfeel.
-
Salt: Just a pinch! Salt enhances the overall flavor of the crust, balancing the sweetness of your fillings beautifully.
-
Water: Cold water is essential for bringing the dough together, helping it to remain pliable without becoming tough.
By combining these core ingredients thoughtfully, you’ll be well on your way to mastering a cassava flour pie crust that’s not only nutritious but also incredibly satisfying!
Why You’ll Love This Cassava Flour Pie Crust
The journey to a perfect cassava flour pie crust starts with its unique texture and flavor that can elevate any pie. Imagine biting into a slice of a fruit-filled pie with a crust that boasts a delightful crunch and buttery goodness, while still being grain-free! This crust is a fantastic option for those embracing a gluten-free lifestyle or simply looking to try something new.
-
Easy to Work With: Unlike some gluten-free flours that can be tricky to handle, cassava flour is surprisingly user-friendly. It rolls out with ease, making the pie preparation a breeze.
-
Delicious Flavor: The subtle nutty flavor of cassava complements both sweet and savory fillings. Whether you’re whipping up a classic apple pie or a rich quiche, this crust brings a delightful taste that pairs beautifully with your favorite ingredients.
-
Healthy Alternative: Made from the cassava root, this flour is naturally grain-free and gluten-free, making it a better choice for those with dietary restrictions. Plus, it’s a great source of carbohydrates that provides lasting energy.
Incorporating this cassava flour pie crust into your baking repertoire not only opens doors to delicious pies but also allows you to enjoy healthier options without compromising on taste or texture. Try it for your next baking adventure, and you’ll likely find it becomes a staple in your kitchen!
Tips for Making Perfect Cassava Flour Pie Crust
Crafting a cassava flour pie crust is a delightful journey into the world of gluten-free baking. With its unique texture and flavor, this crust can elevate both sweet and savory pies, but the process may seem daunting at first. Here are some tried-and-true tips that will help you achieve that perfect crust every time.
Choose Quality Ingredients
Your cassava flour is the star of the show! Opt for finely milled flour to ensure a smoother texture. If it’s too coarse, your crust might turn out gritty. Fresh ingredients always work best, so consider using room temperature butter and cold water to create a flaky crust.
Knead with Care
Unlike traditional flour, cassava flour behaves differently. Knead your dough gently and avoid overworking it, which can lead to a tough crust. Aim for a soft, pliable dough that still holds its shape.
Chill Before Rolling
Chilling the dough for at least 30 minutes not only makes it easier to roll out but also helps prevent shrinkage during baking. This step is essential for keeping your cassava flour pie crust flaky and tender.
Test for Doneness
Keep an eye on your crust as it bakes. It’s done when it has a light golden color. A beautifully baked crust should have a slight crunch on the outside while remaining tender inside.
With these tips, you’re ready to impress with your homemade cassava flour pie crust! Happy baking!
Variations of Cassava Flour Pie Crust
The charm of a cassava flour pie crust lies in its versatility. This unique flour not only caters to those following a grain-free lifestyle but also opens the door to endless culinary creativity. Whether you’re preparing a savory quiche or indulging in a decadent dessert, here are a few delightful variations to try.
Sweet and Savory Twists
- Chocolate Cassava Crust: Add cocoa powder to your crust for a chocolatey base that pairs beautifully with rich fillings like cheesecake or fruit tarts.
- Herbed Cassava Crust: Incorporate your favorite herbs, such as rosemary or thyme, for a savory touch. This variation works wonderfully for quiches and savory pies.
Mix and Match Ingredients
- Nut Butter Addition: Mixing a tablespoon of almond or peanut butter into the dough can enhance the flavor and nutritious value, perfect for a nutty, sweet pie.
- Sweetener Swap: Experiment with different sweeteners like honey or maple syrup for a subtly sweet crust that’s perfect for fruit pies.
Seasonal Flavors
- Pumpkin Spice Crust: Adding pumpkin spice seasoning during the fall holidays can add a festive twist, making it a perfect companion for pumpkin or pecan pie.
- Lemon Zest: A touch of lemon zest brightens the crust, adding a refreshing note that works great with creamy fillings.
These variations encourage you to get creative with your cassava flour pie crust, helping it shine in both sweet and savory dishes!

Serving Suggestions for Cassava Flour Pie Crust
The cassava flour pie crust is not just a gluten-free alternative; it’s a delicious canvas waiting to be adorned with sweet or savory delights. Think about all the ways you can elevate your pie experience; the possibilities are endless!
Sweet Fillings
- Fresh Fruit Pies: Consider a classic apple or berry pie. The nutty flavor of the cassava flour beautifully complements the sweetness of fruits like strawberries or peaches.
- Custard Tarts: A rich custard filling, perhaps flavored with vanilla or lemon, can make for a delightful dessert. Pair it with a sprinkle of cinnamon for warmth.
Savory Options
- Quiches: Fill your crust with a mixture of eggs, cheese, and your favorite veggies. Spinach and feta create a Mediterranean flair that’s hard to resist!
- Pot Pies: Imagine a hearty chicken pot pie with a creamy filling and succulent vegetables—comfort food at its best.
The beauty of a cassava flour pie crust lies in its versatility. Each serving can be a reflection of your culinary creativity, allowing you to make memories with every slice. Happy baking!
Print
Cassava Flour Pie Crust
- Total Time: 30 minutes
- Yield: 2 crusts 1x
- Diet: Gluten-Free
Description
This gluten-free pie crust, made with cassava flour, is perfect for any pie filling.
Ingredients
Scale
- 1 3/4 cup cassava flour (210g)
- 1/2 cup arrowroot starch (65g)
- 1 1/2 teaspoon xanthan gum (optional – see notes)
- 1 teaspoon salt
- 2 eggs, whisked
- 1/3 cup vegetable shortening or lard, chilled and diced (75g)
- 1/3 cup cold butter, diced (75g)
- 3–5 tablespoons ice cold water
Instructions
- Whisk cassava flour, arrowroot starch, xanthan gum and salt together in a large mixing bowl.
- Make a small well in the middle of the flour. Pour the whisked eggs in the well then stir into the flour.
- Add the chilled and diced shortening and butter to the flour mixture. Mix into the flour mixture with a couple of forks or pastry cutter until it resembles a sandy mixture.
- Add the ice cold water, 1 tablespoon at a time. Mix in between each addition of water. Keep adding water and mixing until the dough comes together.
- Divide dough in half (each half weighing about 310g). Form each half into disc shape. Wrap tightly in plastic wrap and refrigerate the dough for at least 20 minutes and up to 5 days.
- Lay out a large piece of parchment paper or silicon baking mat. Lightly dust your hands, the work surface and rolling pin with flour.
- Place one half of the dough in the middle and begin rolling it out. Sprinkle over a little more flour as you go if it starts to stick to the rolling pin. Every so often flip the dough over to make sure it’s not sticking to the paper. Roll into a circular shape that is at least 12 inches in diameter to easily fit a 9-inch pie plate. It will be about 1/8 inch/ a little over 3 mm thick.
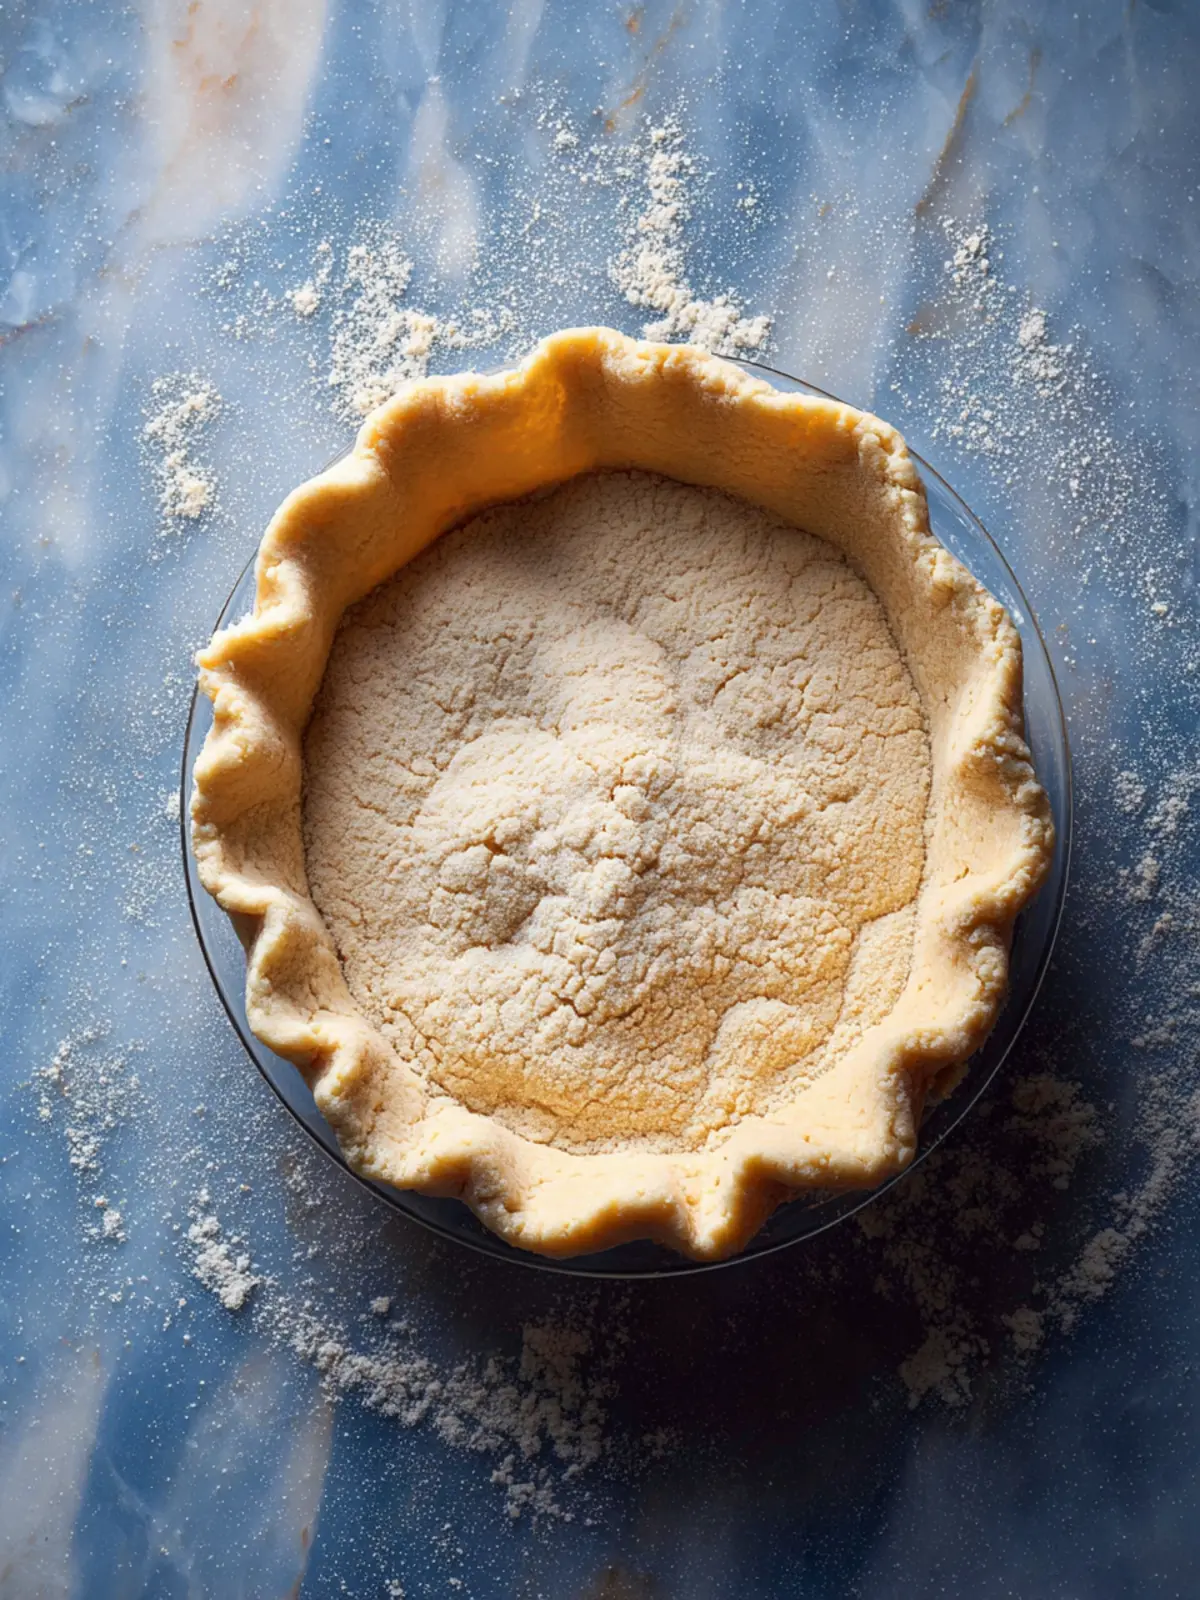
- Use the parchment paper to transfer your dough to the pie dish. Slip one hand under the paper to gently lift and flip the dough over into the pan.
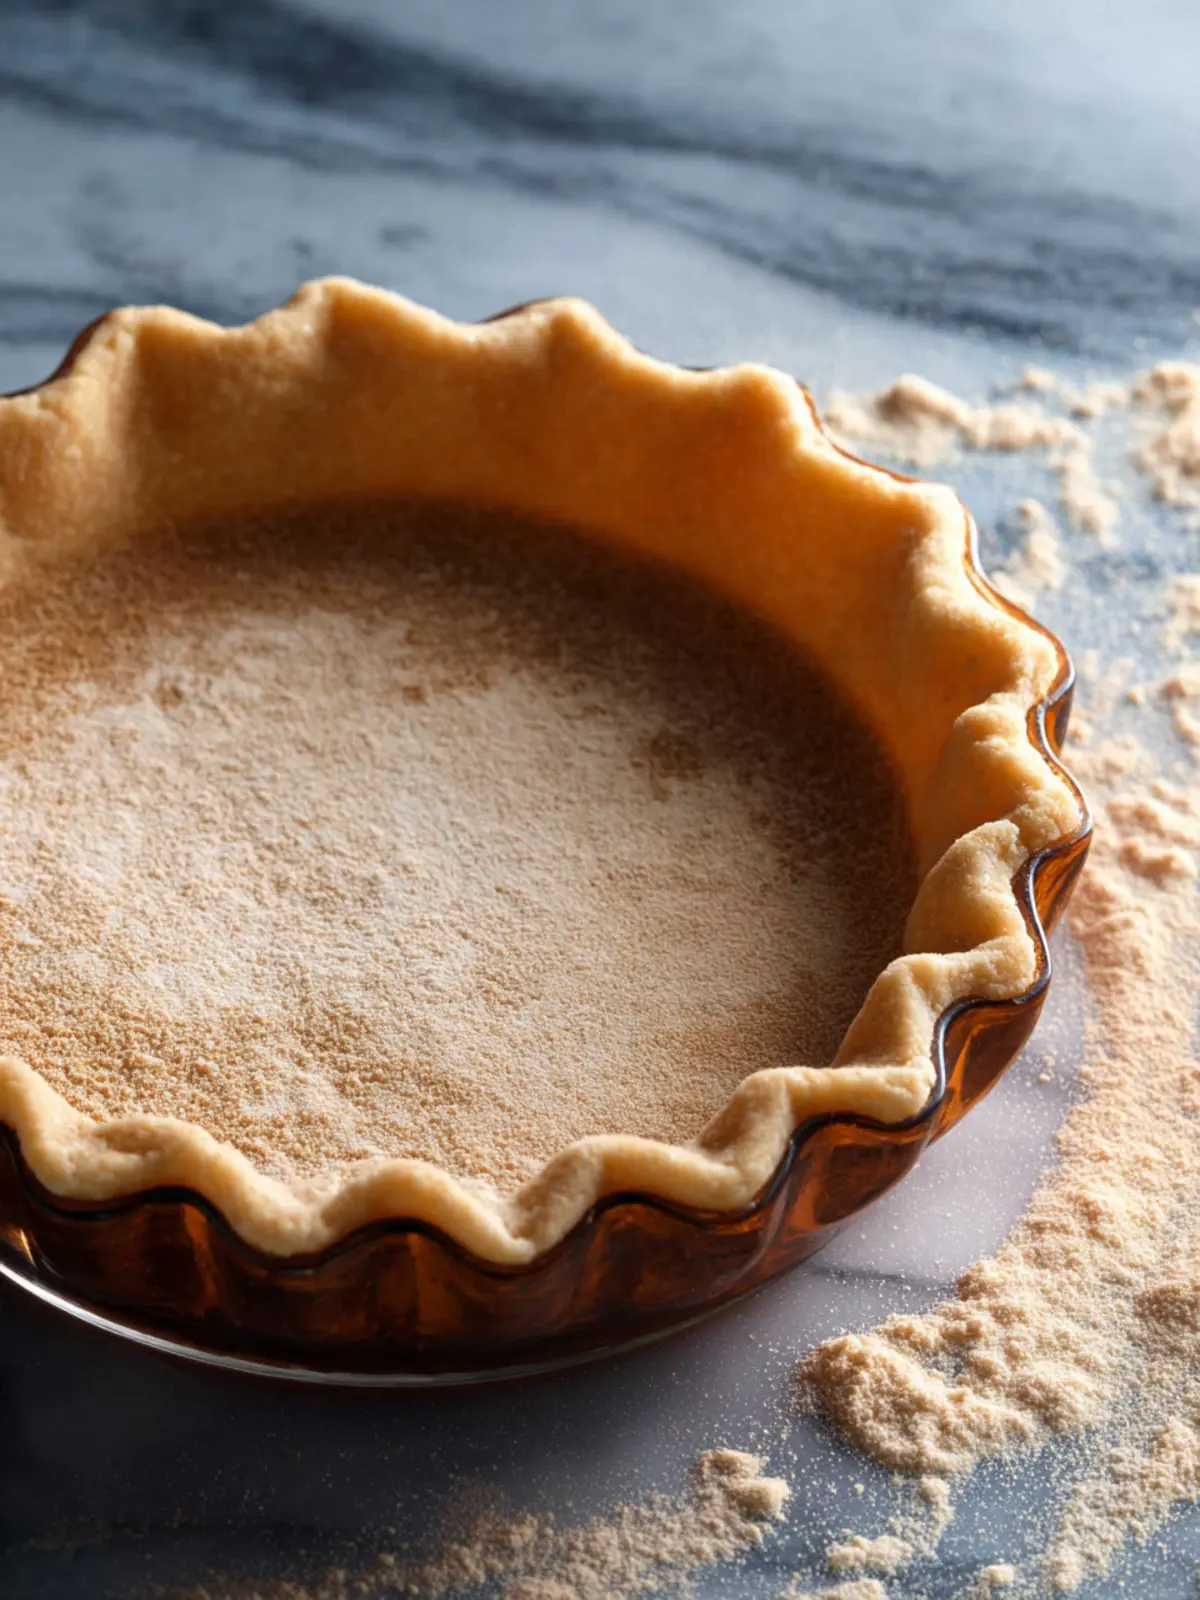
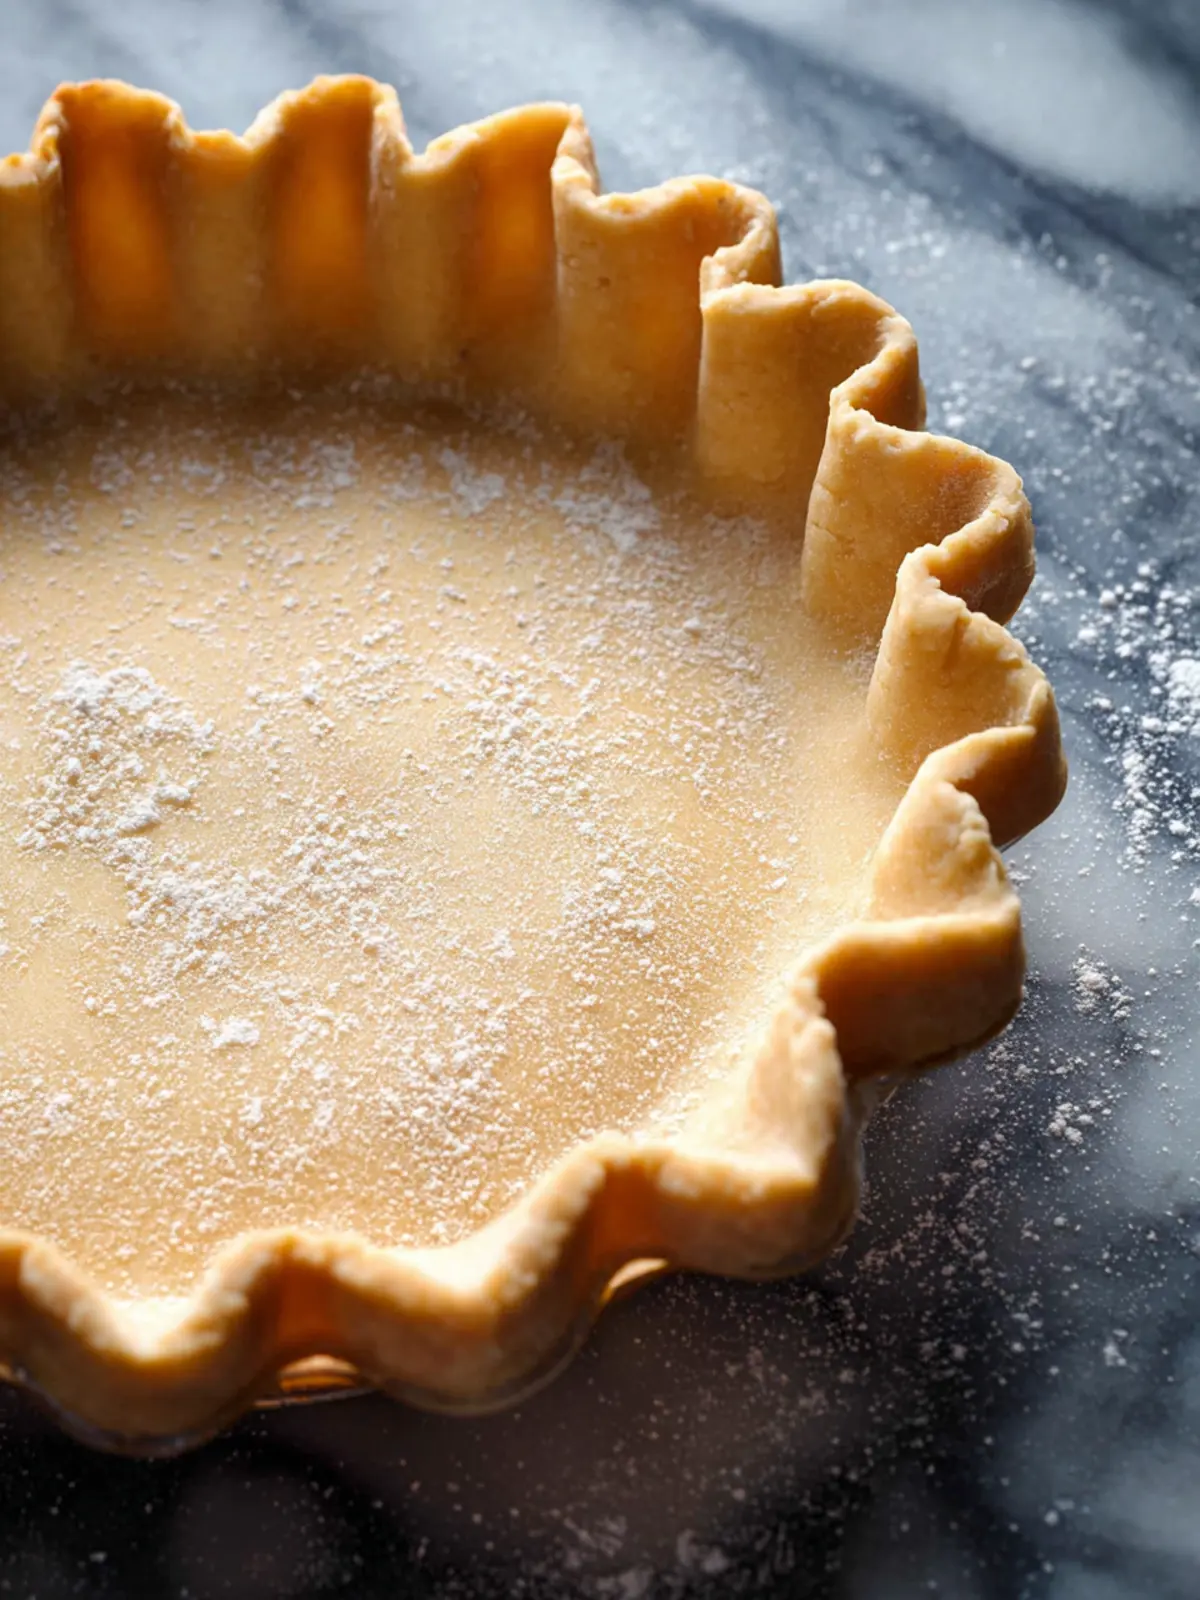
- Peel back the paper and smooth over any cracks or breaking points in the dough. Use the dough hanging over the edges of the pie dish to cover up the holes in the middle. Crimp the edges of the dough as you like.
- Proceed with the pie according to your recipe instructions.
Notes
- Xanthan gum is optional, but helps with the texture of gluten-free dough.
- Prep Time: 30 minutes
- Category: Dessert
- Method: Baking
- Cuisine: American
Nutrition
- Serving Size: 1 slice