Follow Me On Social Media!
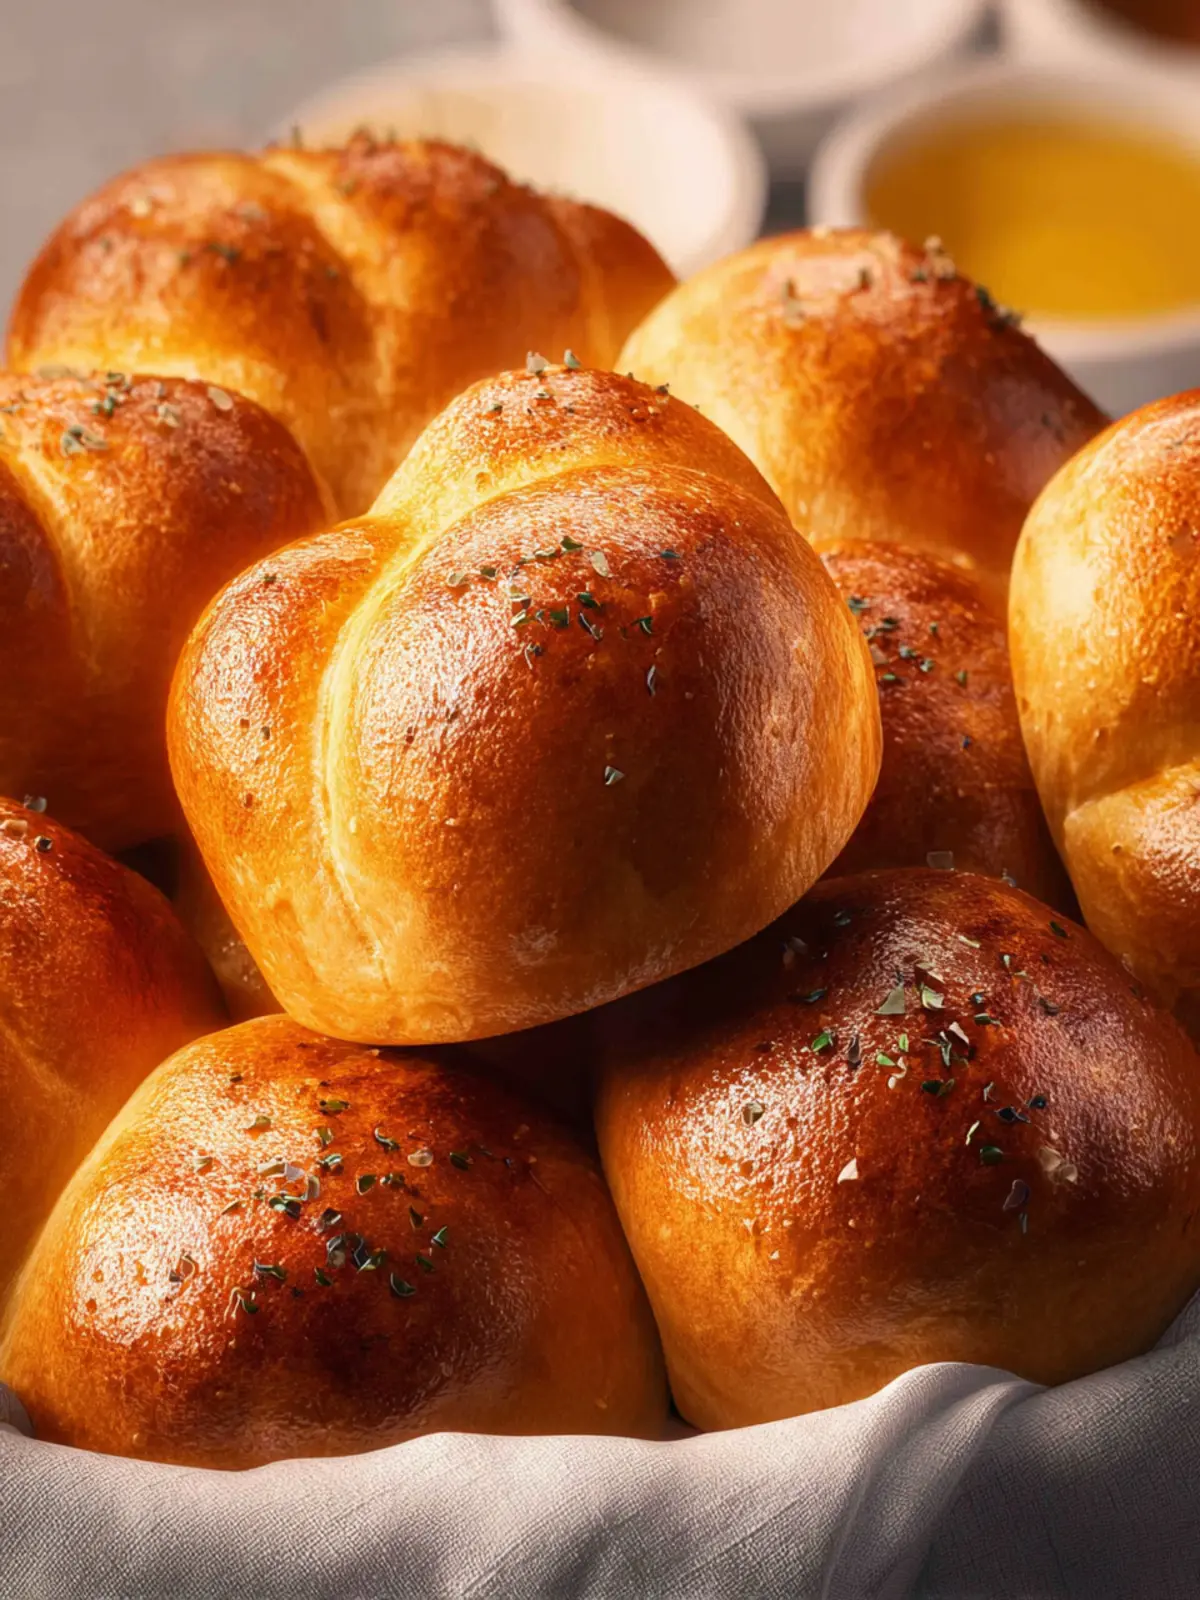
Cloverleaf Rolls: Irresistibly Soft and Homemade Goodness
Introduction to Cloverleaf Rolls
Cloverleaf rolls offer a delightful warmth and nostalgia that wrap around you like a comforting embrace. Imagine gathering around the dinner table, fresh-baked rolls steaming hot, their golden-brown tops glistening under the soft light. These charming little breads, shaped with love, are not just a side dish but a cherished part of family meals and special occasions, effortlessly elevating any dining experience.
What makes Cloverleaf Rolls a special treat?
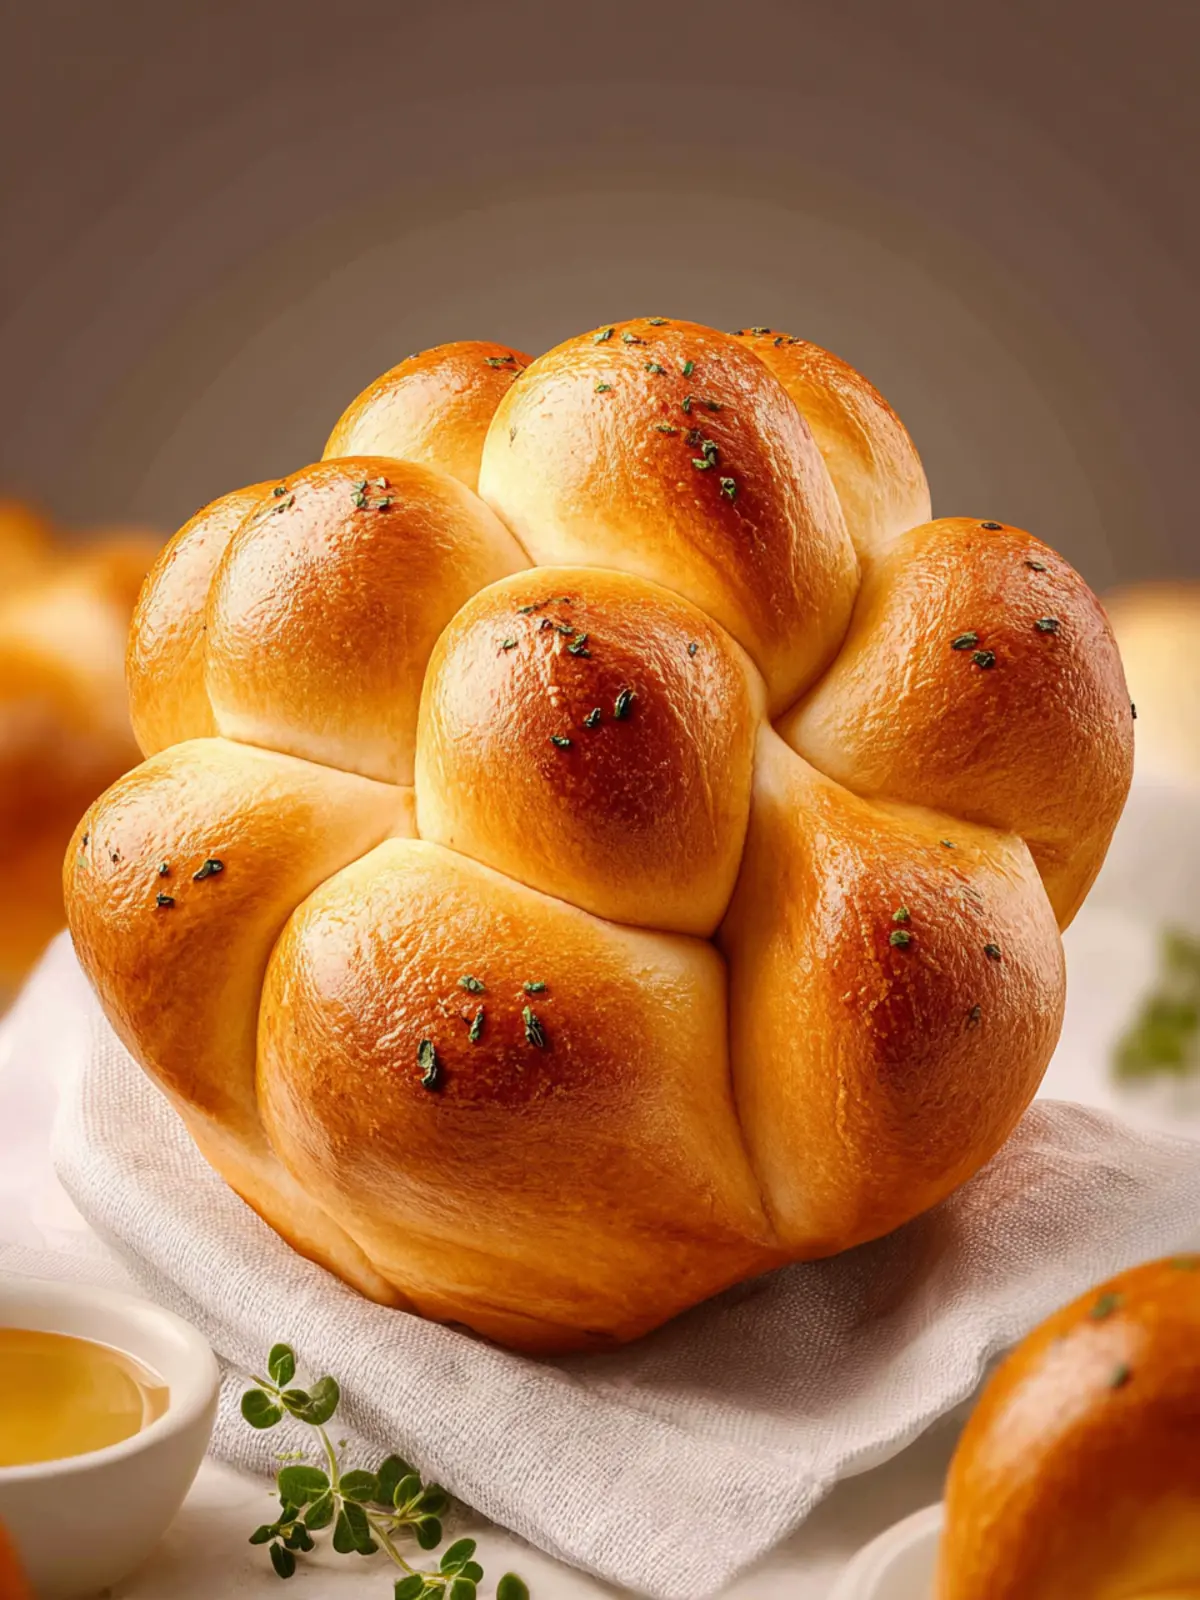
Cloverleaf rolls stand out due to their unique formation—three small dough balls nestled together in a muffin tin, giving them their signature clover-like shape. This design not only makes them visually appealing but also ensures a soft, fluffy texture that is irresistibly pillowy. The gentle crackle on the outside gives way to an airy interior, inviting you to tear off a piece and savor its warmth.
These rolls exude an enchanting aroma that wafts throughout your home, creating a welcoming atmosphere for guests. Whether served with a hearty stew, slathered in butter, or simply enjoyed on their own, cloverleaf rolls have an uncanny ability to bring people together. Their simplicity is reminiscent of home-cooked meals, reminding us of love and tradition passed down through generations.
Additionally, they are surprisingly easy to make, requiring just a handful of ingredients commonly found in your pantry. With a little bit of time and patience (not to mention the thrill of kneading dough), you can create these delectable treats right in your own kitchen. As you watch them rise in the oven, the anticipation builds, much like the excitement of a family reunion.
So, are you ready to create your own batch of cloverleaf rolls and add a sprinkle of warmth to your next gathering? Let’s dive into the recipe that will transform your kitchen into a haven of aromatic bliss and discover just how simple it is to make these beloved rolls.
Key Ingredients for Cloverleaf Rolls
Creating cloverleaf rolls has a unique charm that brings both simplicity and warmth to your dining experience. The delightful aroma that wafts through the kitchen while these rolls bake is enough to make anyone feel at home.
-
Flour: All-purpose flour is essential for the perfect roll texture. It provides the right balance of structure and lightness, allowing for that heavenly, fluffy interior we all crave.
-
Yeast: Active dry yeast is your best friend here. It’s the magic ingredient that helps your cloverleaf rolls rise beautifully. Make sure it’s fresh for the best results; no one likes flat rolls!
-
Milk: For a rich flavor, I use whole milk. Warm it slightly before adding it to the dough to create a tender crumb and a touch of sweetness.
-
Butter: Melted butter not only enriches the dough but also gives those rolls a beautiful golden brown crust. Plus, spreading a bit on top right after baking adds extra flavor.
-
Sugar: Just a touch of granulated sugar enhances the yeast’s action and balances the flavors. It’s small but mighty!
-
Salt: A pinch of salt is crucial; it enhances all the other flavors and helps to control the fermentation of the yeast.
-
Eggs: Including an egg enriches the dough, ensuring that your cloverleaf rolls are soft and fluffy.
By carefully selecting these ingredients, you’re on your way to baking cloverleaf rolls that will impress family and friends alike. Enjoy the process!
Why You’ll Love Cloverleaf Rolls
There’s something truly special about cloverleaf rolls that elevates any meal to a new level of warmth and comfort. These delightful, buttery rolls are not just a side dish; they’re the kind of bites that bring people together around the dinner table, creating memories that linger well beyond the last piece.
A Bite of Nostalgia
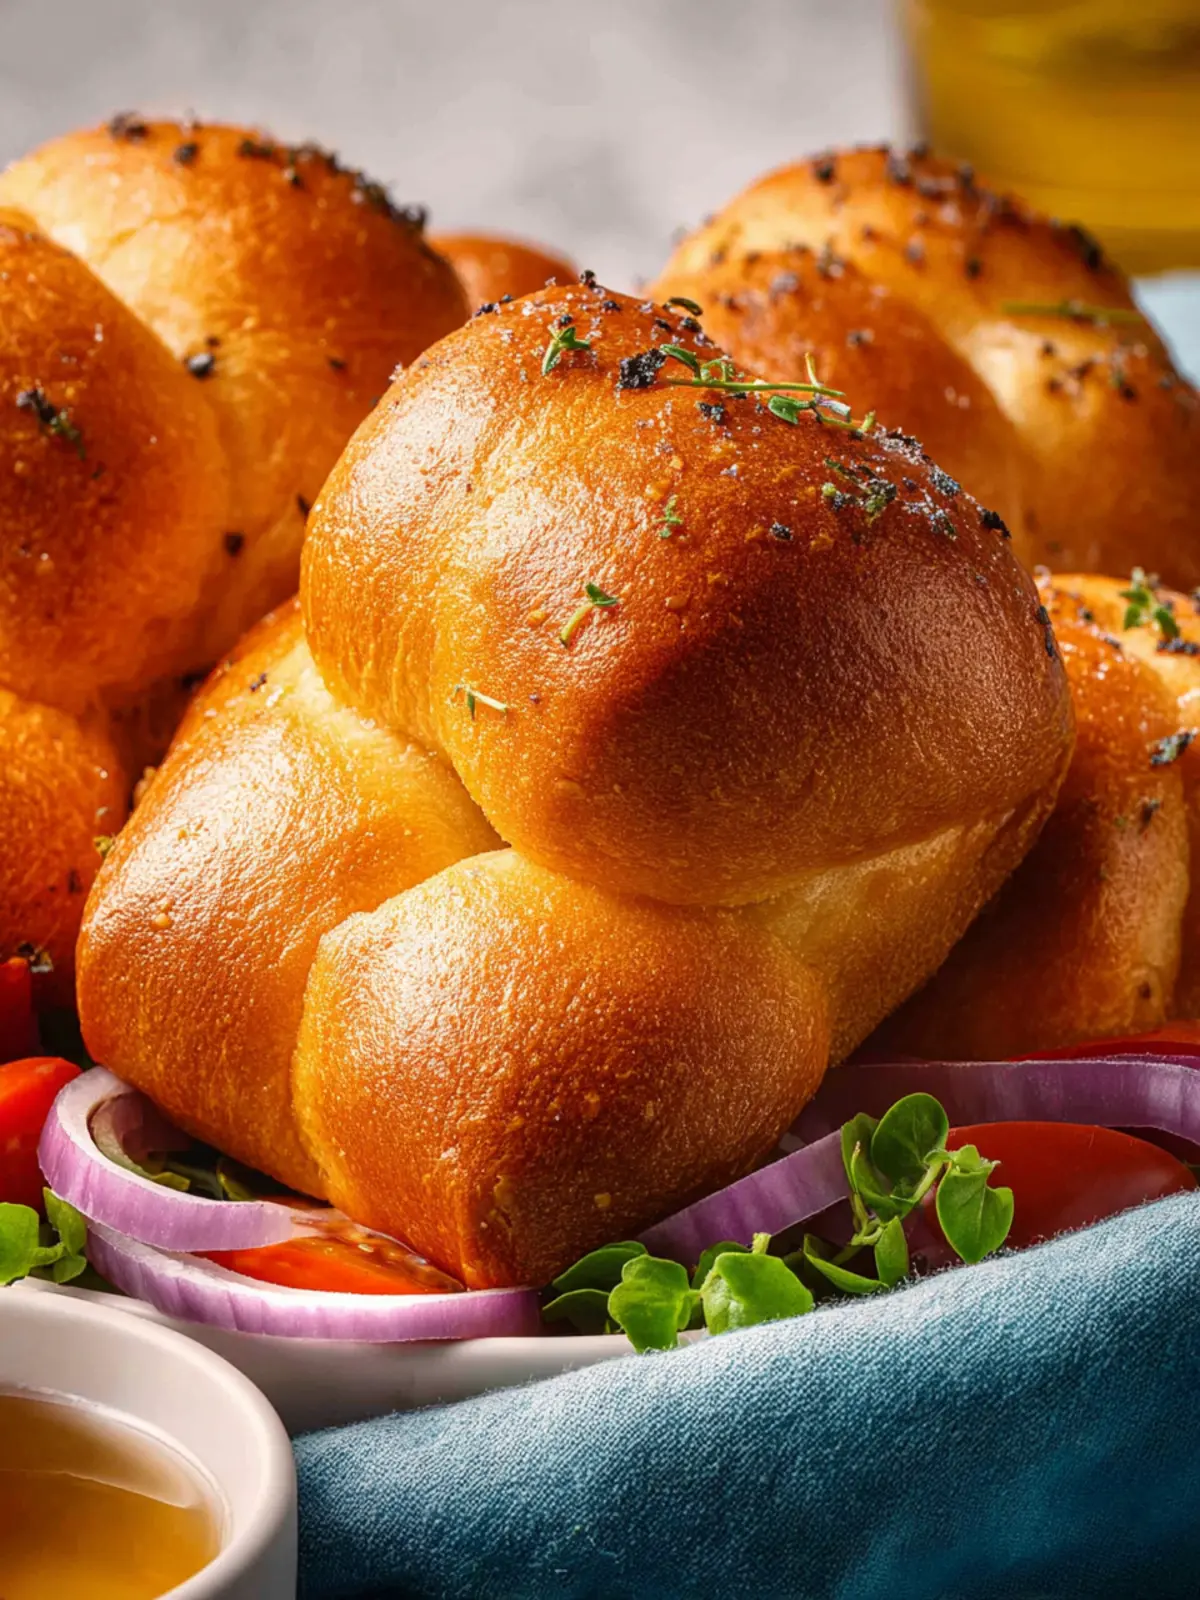
Cloverleaf rolls are reminiscent of family gatherings and festive occasions. The way they peel apart into three fluffy sections invites sharing and conversation, making them perfect for any gathering, big or small. Serve them warm straight from the oven, and watch your guests’ faces light up with joy.
Texture and Flavor
What’s more to love? The texture is soft yet slightly chewy, with a golden-brown crust that’s simply irresistible. The buttery flavor enhances every meal, whether it’s paired with soup, served alongside roasted meats, or simply enjoyed on their own with a drizzle of honey or a pat of butter.
- Perfect for Any Occasion: Whether it’s a holiday feast, a cozy family dinner, or a casual gathering with friends, cloverleaf rolls never disappoint.
- Versatile and Easy to Make: With straightforward ingredients and a simple process, even novice bakers can whip them up without a hitch.
Once you try these rolls, you’ll wonder how you ever enjoyed a meal without them. Let the aroma fill your kitchen, and enjoy the joy that comes with every fluffy bite—it’s a love affair you won’t want to end.
Tips for Making Perfect Cloverleaf Rolls
Creating cloverleaf rolls that emerge from the oven beautifully golden and deliciously fluffy is a true culinary delight. Here are some tested tips to elevate your baking game and ensure those rolls are perfect every time.
Choose Quality Ingredients
Using high-quality ingredients can significantly affect the final product. Opt for fresh yeast rather than dried for an optimal rise. A soft, versatile flour like all-purpose flour is ideal for achieving that delightful texture.
Knead with Love
Take your time while kneading. Don’t rush the process. Knead the dough for around 8 to 10 minutes until it becomes smooth and elastic. Feel the dough; it should spring back when you poke it. This is essential for achieving that tender, airy texture in your cloverleaf rolls.
Perfect Rise
Allow your dough to rise in a warm, draft-free environment. A simple trick is to place your dough in an oven preheated to the lowest setting for a few minutes and then turned off. This creates a cozy environment for the yeast to thrive.
Divide and Shape Evenly
When you portion the dough, try to keep each piece uniform in size. Using a kitchen scale can help ensure consistency. Shaping each piece into three smaller balls before forming a cloverleaf shape ensures even baking.
Don’t Skip the Butter
After baking, brush your cloverleaf rolls with melted butter for a shiny finish and added flavor. The buttery glaze keeps them moist and inviting, making them even harder to resist.
With these tips in hand, you’ll be well on your way to mastering the art of cloverleaf rolls!
Time Details for Cloverleaf Rolls
When whipping up a batch of delightful cloverleaf rolls, it’s essential to plan your time wisely for the best results. Here’s a breakdown of the various time commitments involved in this baking adventure:
Preparation Time
Getting your ingredients ready will generally take about 15 minutes. You’ll want to gather your flour, yeast, and other essentials for smooth sailing.
Rising Time
The dough needs to rise twice. First, give it about 1 to 2 hours for the initial rise until it doubles in size. After shaping the rolls, they’ll need another 30-45 minutes to puff up.
Baking Time
Once your rolls have risen, bake them at 350°F for 15-20 minutes, or until they turn a beautiful golden brown.
Total Time
In total, you’re looking at around 2 to 3 hours of hands-on time, depending on rising and baking. The sweet reward of freshly baked cloverleaf rolls is well worth the wait!
Nutritional Information for Cloverleaf Rolls
When diving into the Cloverleaf Rolls recipe, it’s crucial to understand their nutritional profile. These delightful little rolls not only accompany meals beautifully but also contribute to your daily nutrient intake.
Calories
Each serving of cloverleaf rolls contains approximately 150 calories. This makes them a manageable addition to a balanced diet while still delivering that warm, comforting feel we all crave.
Protein
These rolls provide about 4 grams of protein per serving. While they aren’t packed with protein, they can easily complement a protein-rich meal when served alongside a hearty stew or roasted chicken.
Sodium
Each serving contains around 240 milligrams of sodium. For those watching their sodium intake, it’s wise to consider this figure, especially if you’re pairing these rolls with salty sides or sauces.
FAQs about Cloverleaf Rolls
When it comes to the delightful world of Cloverleaf Rolls, questions often arise, especially for those who want to recreate this buttery, pull-apart bread at home. Let’s dive into some frequently asked questions and help you on your journey toward baking perfection!
Can I make Cloverleaf Rolls with fresh dough instead of frozen?
Absolutely! Making Cloverleaf Rolls from scratch using fresh dough is a wonderful way to infuse your rolls with homemade love. Just prepare your dough according to your favorite recipe, allow it to rise until doubled in size, and shape it into the classic three-ball cluster. The aroma of freshly baked rolls will surely make your kitchen feel like a cozy bakery.
How do I store leftover Cloverleaf Rolls?
If you find yourself with leftover Cloverleaf Rolls, storing them properly is key to keeping them fresh. Allow the rolls to cool completely, then store them in an airtight container at room temperature for up to two days. Alternatively, you can refrigerate them in a sealed bag for longer freshness. Just make sure to reheat them gently in the oven to bring back that delightful softness.
Can I freeze Cloverleaf Rolls after baking?
Yes, you can! Freezing Cloverleaf Rolls is a great way to preserve them for later enjoyment. Once the rolls have cooled completely, arrange them in a single layer on a baking sheet and freeze until solid. Then, transfer them to a freezer bag or airtight container. They can last up to three months in the freezer. To enjoy, simply thaw and warm them in the oven for a few minutes to revive that fluffy texture!
With these tips in hand, you’re well on your way to mastering the art of Cloverleaf Rolls. Happy baking!
Conclusion on Cloverleaf Rolls
In summary, making cloverleaf rolls at home is an enjoyable baking adventure that fills your kitchen with warmth and delicious aromas. These tender, buttery rolls are perfect for any meal, from holiday feasts to casual dinners, effortlessly making an impression. As you experiment with this recipe, don’t hesitate to personalize it by adding your favorite herbs or spices. Embrace the process, which includes kneading the dough and watching it rise, as it creates a sense of accomplishment. Remember, the love you put into baking is what transforms simple ingredients into a delightful experience shared with family and friends. Happy baking!
Print
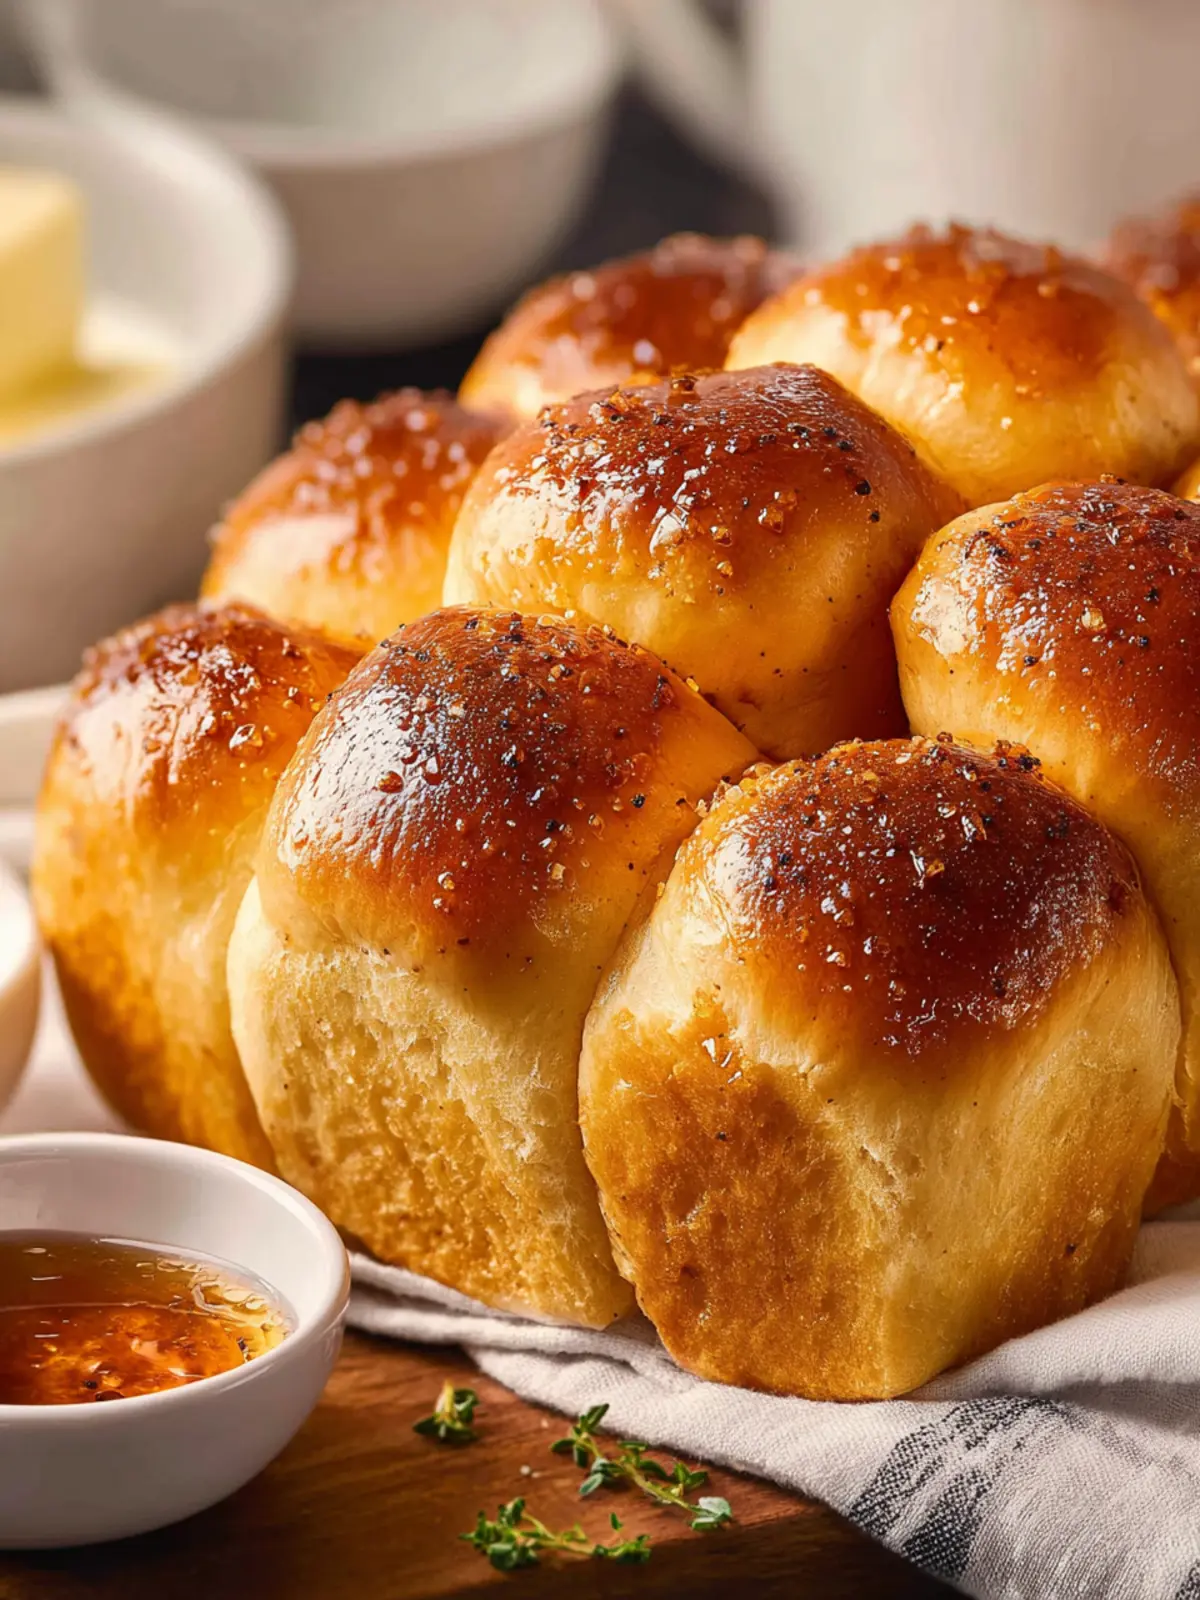
Honey Garlic Dinner Rolls
- Total Time: 138 minutes
- Yield: 12 servings 1x
- Diet: Vegetarian
Description
These delicious honey garlic dinner rolls are the perfect addition to any meal, offering a soft texture and amazing flavor.
Ingredients
Scale
- 18 frozen unbaked Rhodes dinner rolls
- nonstick cooking spray
- 3 tbsp regular salted butter (melted)
- 1½ tbsp honey
- 1 tsp very finely chopped fresh thyme
- ½ tsp garlic powder
Instructions
- Place frozen dinner rolls in a large casserole dish or on a sheet pan, with plenty of space in between. Loosely cover with plastic wrap. Thaw at room temperature until soft enough to cut, but still cold. This typically takes about 2 hours depending on the temperature of your kitchen.
- Cut each thawed dough ball in half, then gently roll each half into a ball again, pinching any excess dough toward the bottom of the ball. You should have 36 newly formed small dough balls.
- Generously spray a standard 12-slot muffin pan with nonstick cooking spray, making sure to get the bottom and sides of each slot.
- Place 3 dough balls in each greased muffin slot.
- Using nonstick cooking spray, generously coat one side of a large piece of plastic wrap. Place over the muffin pan (spray-side down so it’s touching the dough.)
- Allow to rise until doubled in size, expanding just over the top edge of the muffin slots. The time it takes will depend on the temperature of your kitchen—it could be anywhere between 30 and 90 minutes.
- Toward the end of the rise time, preheat the oven to 350°F.
- Carefully remove the plastic wrap.
- Bake on the middle/center rack for 15 to 18 minutes until the rolls are puffed up and golden.
- Whisk together melted butter, honey, thyme, and garlic powder until combined. Gently brush over the baked rolls.
- Allow to cool in the pan for a few minutes before removing to a rack. Serve warm.
Notes
- This recipe offers a delightful sweet and savory flavor perfect for any occasion.
- Adjust the rising time based on the temperature of your kitchen for best results.
- Prep Time: 120 minutes
- Cook Time: 18 minutes
- Category: Bread
- Method: Baking
- Cuisine: American
Nutrition
- Serving Size: 3 rolls
- Calories: 180
- Sugar: 2g
- Sodium: 150mg
- Fat: 8g
- Saturated Fat: 4g
- Unsaturated Fat: 3g
- Trans Fat: 0g
- Carbohydrates: 24g
- Fiber: 1g
- Protein: 3g
- Cholesterol: 15mg